
Macro Photography with your Camera – Cheap! (Part 2)
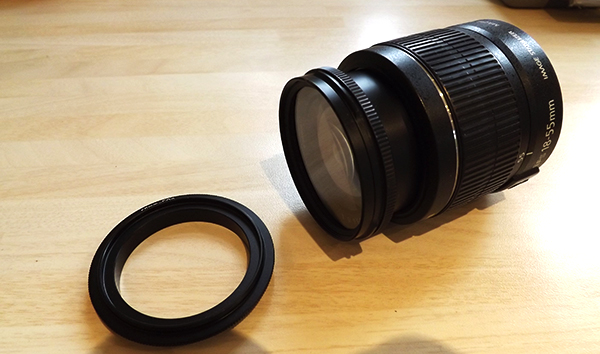
The previous post introduced you to the very cheap Reversing Ring for your DSLR camera to give you powerful macro photography capability without breaking the bank. If you’ve parted with a few pounds and bought one, here’s a few tips on actually using it.
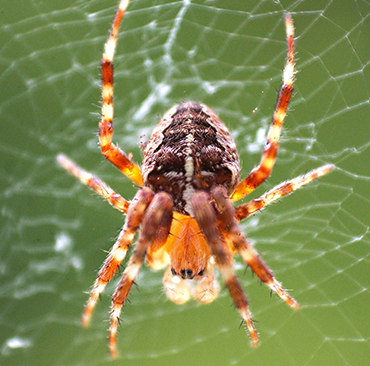
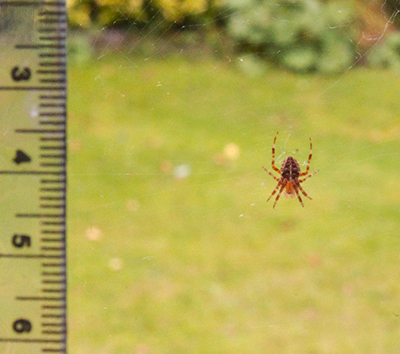
The photo below of a lovely spider named Horace was taken through the kitchen window with the lens at 55mm and I just about got away with using the camera handheld (shutter speed was 1/160th) but generally, your new macro setup won’t be suited to wandering round the garden taking closeups of flowers, bugs and beasties. You’re lens will be really close to the subject, shutter speeds will be quite slow and any movement from the slightest breeze will make your carefully framed subject go out of focus and even completely out of shot. At higher magnification (with your lens at wider angle settings) you can totally forget using it handheld. Anyway, you can see from the second picture of Horace at normal size, he wasn’t exactly big and scary!
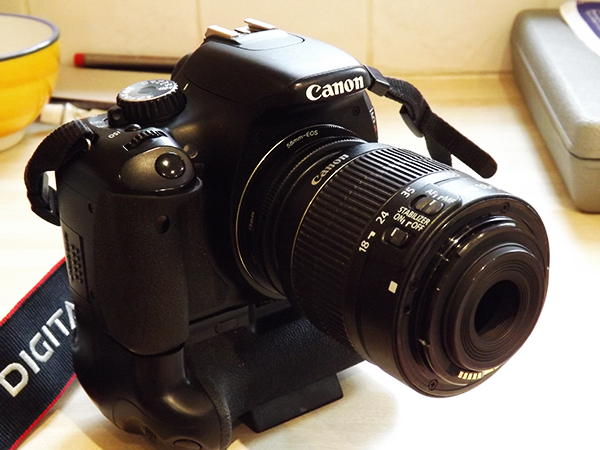
The setup using a Reversing Ring is certainly more suited to tripod use, with shutter release triggered by a remote control (or the camera’s timer setting) in a reasonably controlled ‘studio’ environment. So, turn your lens round using the Reversing Ring, get your tripod out, find something small you want to photograph, stick it on the table and let’s get started!
- Switch your camera to Manual – your automatic settings won’t work anyway and you need full control over camera settings.
- Unless you’re in good daylight, your first challenge will probably be getting enough light on your subject – you can’t rely on artificial light from above as your lens will be very close to the subject, which will be in the shadow cast by the camera. You could use the flash/light on your mobile phone or a torch, and you’ve then got the challenge of holding the light source in place really close in – this is where things like gaffa tape, blutak and clothes pegs come in useful!
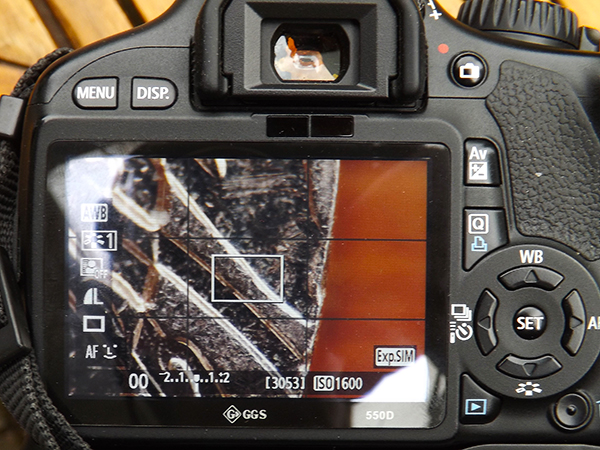
- Switch your camera to Live View so you can use the screen rather than the viewfinder to focus (don’t forget to switch off automatic standby to allow you plenty of time to set up the shot)
- Attach a remote control or set your camera to timer. This will minimise camera movement resulting from pressing the shutter button
- You cannot change the aperture (it will show on the display as 0), so you need to adjust the shutter speed and ISO to control the exposure
- Use your tripod centre column to move the camera closer or further away until you get it as close to in-focus as you can
- Switch your lens to Manual Focus and use the focus ring to fine-tune and get your image as sharp as possible
- Take a test shot and view the result – adjust the shutter speed again to tweak the exposure. Re-focus if necessary as the slightest movement of the table, camera, object or tripod may have put your shot out of focus
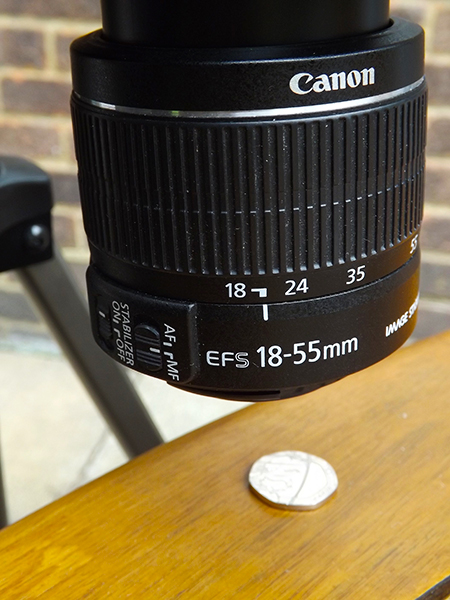
You need to get very close to your subject to focus
Then it’s really a matter of keeping going till you get the shot you want. Also don’t be afraid to play with the light source – or maybe use a couple of sources such as the torch app on your phone or a table lamp. Depending on the direction and angles, you’ll get different shadows; some more effective and pleasing than others.
So you won’t get many shots of live bugs and beasties unless you can find a particularly accommodating (or lazy) creature in good natural light to pose for you long enough to get your shot – Horace the spider had stayed in the same spot for three days and was there for several more! Setting up your shot can be time-consuming and the slightest movement is the difference between a sharp image and a total blur, so be patient. Good luck with your macro shooting and I hope you get some interesting shots. The trial and error approach to getting your shot is an interesting learning curve – made all the more enjoyable because it cost you less than a tenner!! Then if you’re bitten by the Macro bug, you could consider investing in some more specialist lenses and kit.